What do you need?
First off, you need a piano!
Each student will require a minimum of a 61-key keyboard, though a 76-key is better—but a weighted 88-key is preferred and highly recommended.
If you start with a 61 or a non-weighted keyboard, you should consider it a “temporary” keyboard until you can upgrade to an 88-key fully weighted digital piano or an acoustic piano. Transitioning from a non-weighted keyboard to the fully-weighted action of an acoustic or digital piano is much harder than vice versa!
Imagine training for a 10k marathon, but you are training on the moon with low gravity. Then you get back to earth for the marathon and you can barely stand up! A weighted action is not heavy, it is normal! Practicing on a non-weighted instrument does very little as far as building your stamina, and the keys are also slightly smaller in width and length, so your muscle memory also has to slightly adjust when playing a full-sized 88-key piano. You can still learn on a non-weighted instrument, but there are many major limitations you will encounter and many pieces you will never be able to play because they were written for a full 88-key piano.
Acoustic Pianos are usually the best option for a developing pianist—allowing the full range, weight of the action, dynamic control and many other great benefits right off the bat. However, please be aware that acoustic pianos come with maintenance costs—it needs to be tuned regularly—preferably twice a year in the spring and fall. If you have acquired an old hand-me-down upright piano that has not been tuned in many years, then be aware that it may an un-tunable piano. Acoustic pianos must be maintained, and you should know that at the outset when making your decision. Acoustic pianos can provide the best possible beginning to learning the piano.
Digital pianos have some pros and cons to factor in. On the pro side, they are generally more affordable than acoustic pianos and you never have to worry about tuning them. You can also turn the volume down or plug in headphones to practice without disturbing neighbors, family, or roommates. Plus, it is fun to play around with the other tones occasionally, and you don’t need to hire a special moving crew on moving day! However, not all digital pianos are created equally, and all are doing their best to imitate an acoustic piano. Some come much closer to this ideal than others. My personal recommendation is the Roland brand.
Digital pianos usually need several accessories that typically are either built in or included with an acoustic piano, such as a Stand, a Bench, and Pedal(s). Stands need to be sturdy, be wary of “X” style stands, as they tend to bounce the most. Benches need to be height-adjustable and must be flat and level (no chairs that lean back, swivel, or have wheels!) As far as a pedal goes, you will not need that for probably about year or so after you start taking lessons.
LESSON BOOK: I do not teach directly out of a specific method book, however we will be using one—more to have a variety of pieces that are graded and get progressively harder as the book goes on—than for the instruction material. I have found that what my Piano Pedagogy teacher Dr. Carlin taught me in college to be true: there is no perfect method book—the teacher is the method.
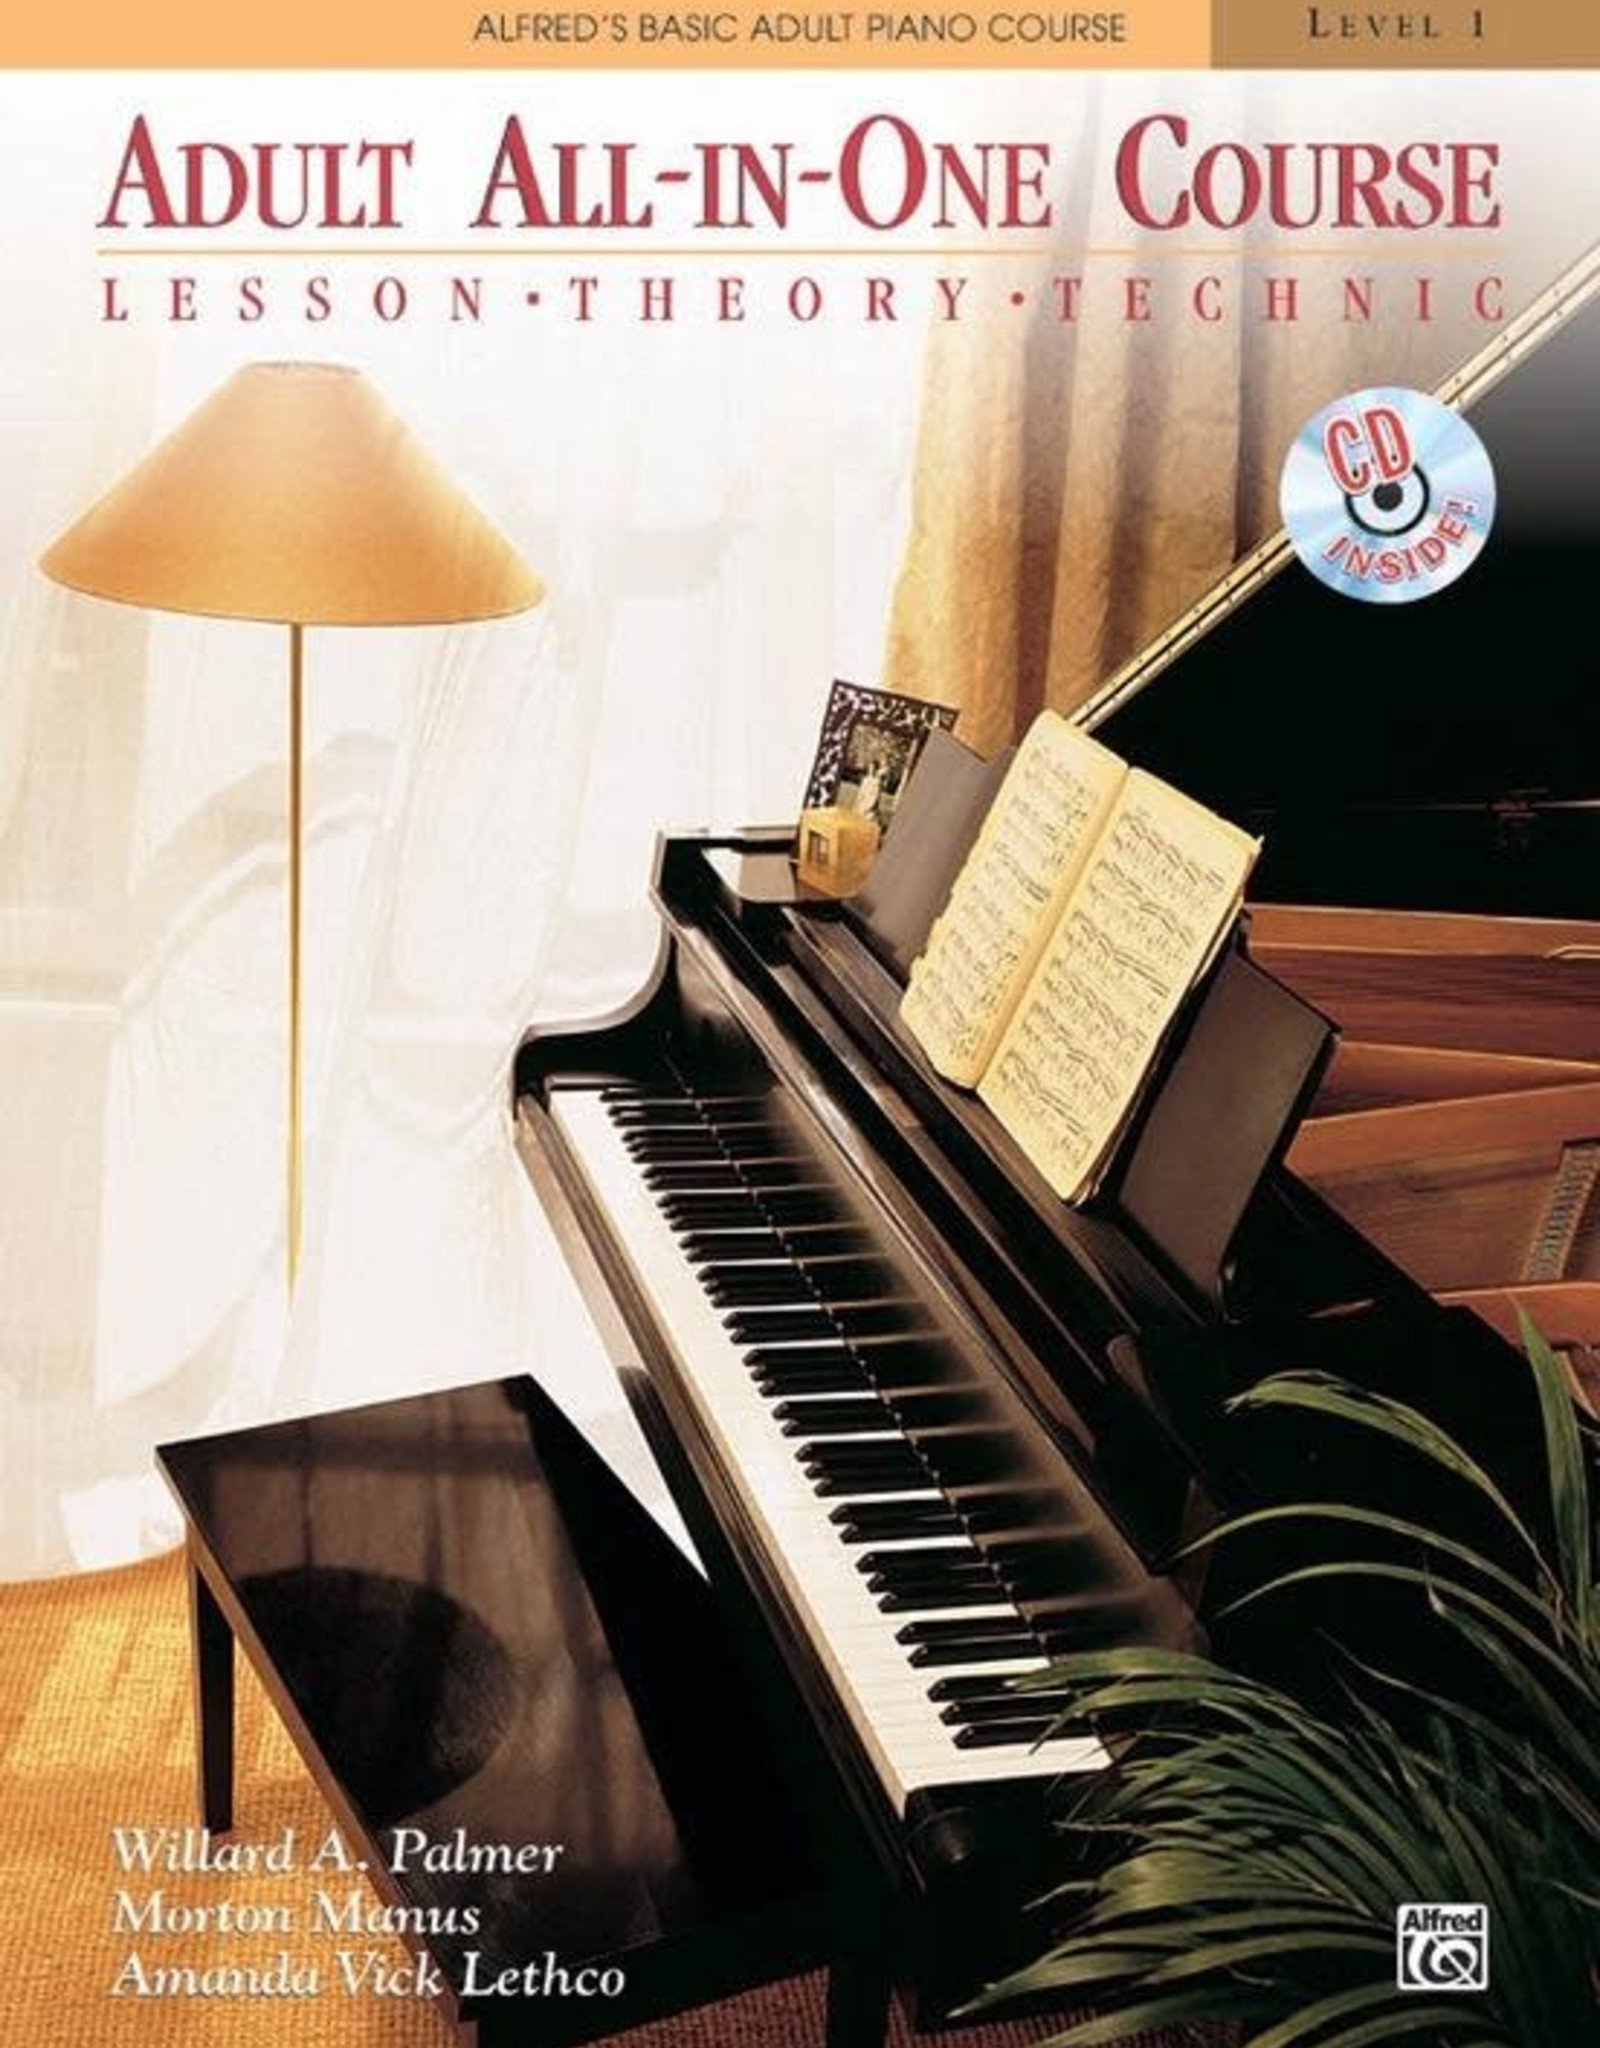
I prefer to use the Bastien Adult All-in-One or the Alfred’s Adult All-in-One books, usually from the age of about 12 and up. The main difference is that these books do not have cartoon pictures of lions and tigers and bears and generally have slightly more interesting music. For younger children, I prefer the Bastien New Traditions series.
Along with a lesson book, occasionally you will need to buy other books or solo piano music over the course of time (usually only once or twice a year on average). You can supply the book yourself if you wish, or I can order them for you from my favorite local music store and have them waiting for you at your lesson if you would prefer to not have to deal with it.
3-Ring Binder
Each student will be asked to supply their own 3-ring binder that will be used for piano lessons—whether you take in-person or online. Make sure to get the style of 3-Ring Binder that has the clear windows on the front and back cover so you can insert a picture!
At the end of each lesson you will get a “Piano Lesson Assignment Sheet” that you can add to this binder. Online lessons will get their Piano Lesson Assignment Sheets through email soon after the lesson. On this sheet you will find general instructions on what to practice and how, as well as new concepts and tips and tricks…and whatever I had time to write down during the lesson! Over time, it may be helpful to reference an older Assignment Sheet to remember the fingering for that one scale, or just to see what songs you were working on 6 months ago!
The other (and more fun) purpose of this binder is that I want for you to fill the outside pockets with giant pictures! Something like an old calendar works perfectly! I have even bought some “bargain book” coffee table sized books for a couple dollars to get a bunch of big pictures on a topic I like, such as castles or weather or art by MC Escher. Then I just cut them out of the book I would probably never pick up and put them in the cover of a book I will see every single day! You can also put pictures inside the binder in page protector sheets, as well as any useful handouts I may give you during lessons.


